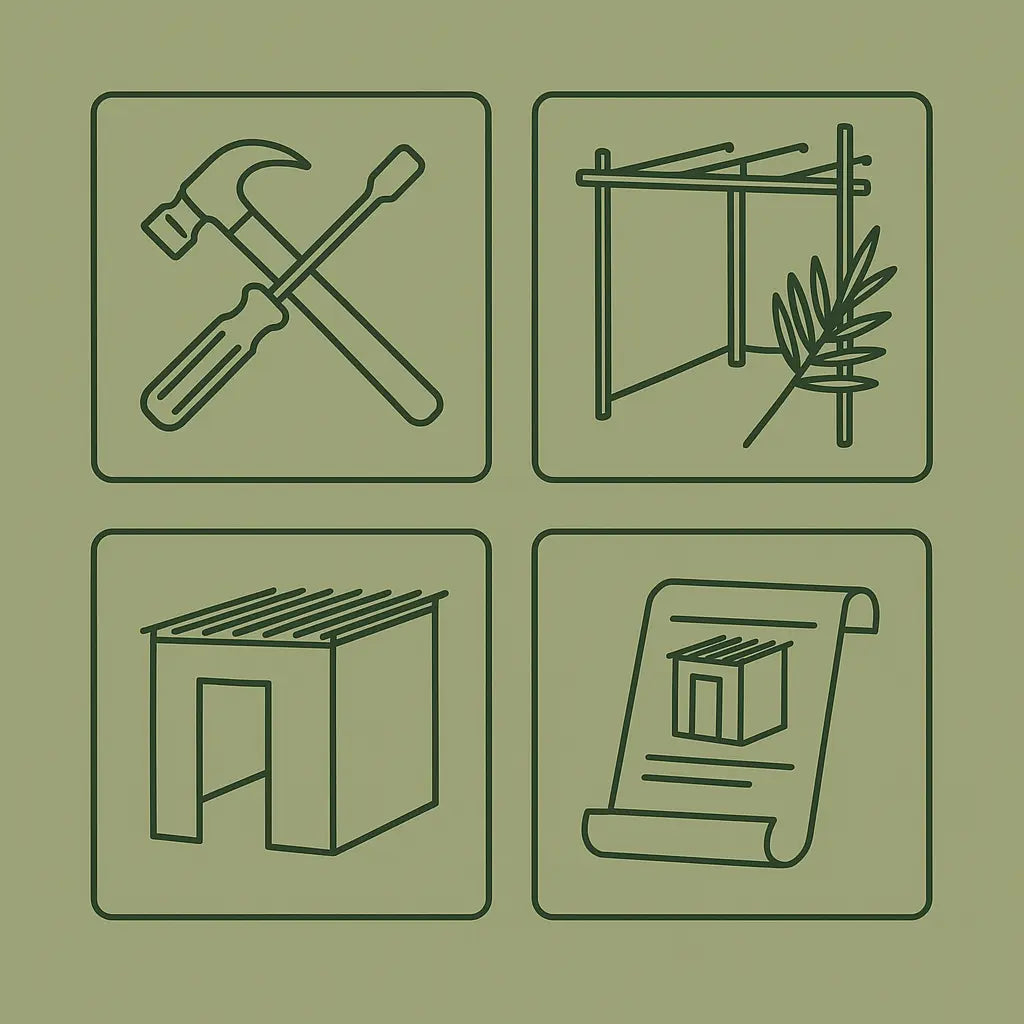
Sukkah Assembly Instructions
Setting up your sukkah has never been easier! Below you’ll find downloadable PDF assembly guides for all our sukkah sizes. Each guide includes step-by-step instructions, diagrams, and tips to make your sukkah stable, beautiful, and ready for Sukkot.
Sukkah Assembly Instructions – All Sizes
Download Your Sukkah Assembly Guide
- 📄 4×6 FT & 6×8 FT Sukkah – Download PDFSukkah_Assembly
- 📄 8×10 FT Sukkah – Download PDFSukkah_Assembly
- 📄 8×12 FT Sukkah – Download PDF_Sukkah_Assembly
- 📄 10×12 FT & 10×16 FT Sukkah – Download PDF_Sukkah_Assembly
- 📄 12×20 FT Sukkah – Download PDF_ Sukkah_Assembly
- 📄 12×24 FT Sukkah – Download PDF_Sukkah_Assembly
What’s Included in Each Guide
- Full list of parts for your sukkah size
- Illustrated diagrams for quick understanding
- Step-by-step fabric attachment guide
- Tips for securing poles and crossbars
- Velcro and overlap positioning
- Storage recommendations after Sukkot
Assembly Tips
- Prepare all parts before starting.
- Work on a clean, flat surface.
- Ensure vertical rods have the shorter part at the bottom.
- Always fasten upper Velcro first, then middle, then bottom.
- Use provided strings for secure fastening.
Need Help?
If you have questions or need guidance during setup, our team is happy to assist you.